This is why I don't do what I call Theatrical works all the time; this pair took 6 months and required multiple experiments, inventions, and trips to my leather source.
The finished work is well worth it and the photo shoot will complete the process.
The process went like this...
The original sketch
The 1st challenge was the heel, it needed to be growing out of the ground and had to have a standard heel insert on the bottom to be functional.
Being a complicated 3 dimensional piece I decided to mock it up in CAD so I had something concrete to reference.
I choose 1/8th steel rod, this gave me a 1/8 dia. hole down the middle when in an array of 6.
After a little experimentation I decided on the different lengths and brazed them together
I flared them out according to the plan and fit them to the last at every stage of shaping. I started out making four even though I new I only needed two.
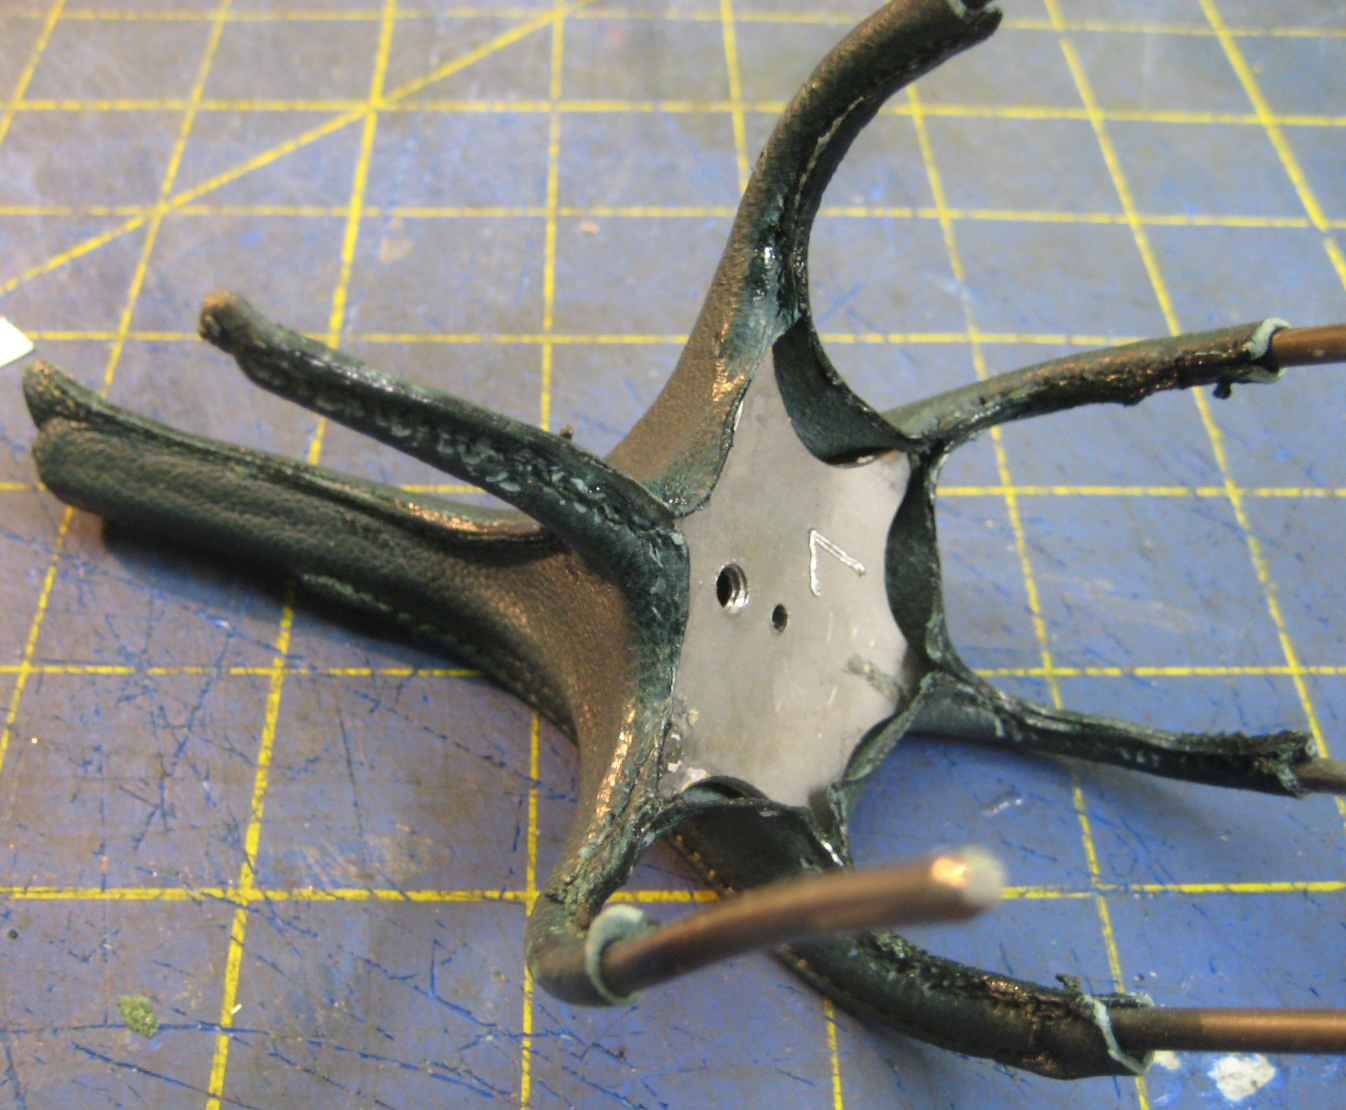
A plate was required to have something solid to screw into and to hold the wires in position
With the plates formed to fit the heel they could be brazed onto the wires
Next I made some leafs.
On a project like this I jump around from one invention to another while one of the other mystery parts is simmering in my head.
I used small dia. aluminum welding rod for the stems; its very flexible and soft.
Started making them using everything in the scrap bin, I knew I would need a lot to choose from so many extras were made.
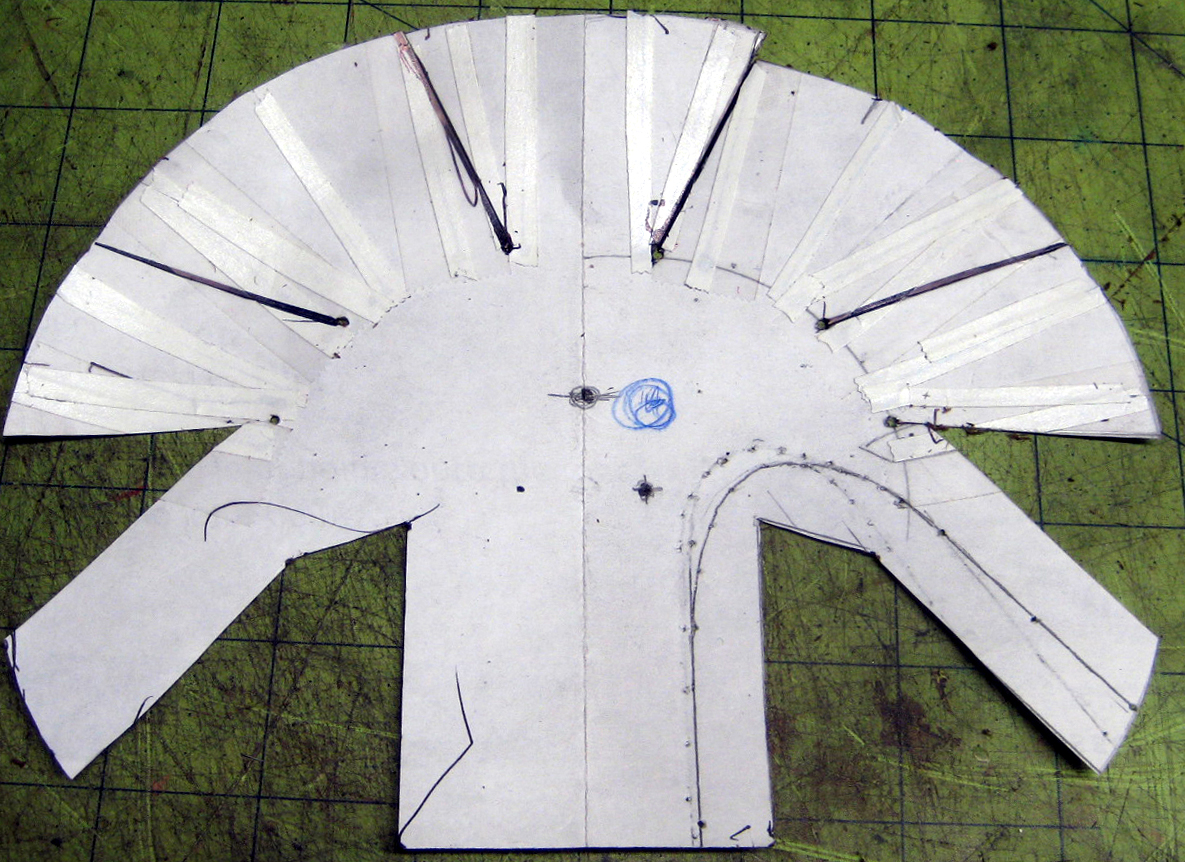
Next I made the pattern and I really like the strap area; I made it longer than needed so that I could last it tight and trim it as I wished.
I put in a filler and tapered it so that the out-sole had a smooth transition from lasted upper to toe. This a common problem with sandals in that the out-sole has small gaps each time it passes over a strap.
An early attempt at understanding the design
In creating the leafs for the heel stems a different method became necessary.
I really liked the stitched in curve and the way that the edge of the leaf transitions into the single stitch line, all the other leafs have two stitch lines.
Next came developing the covers for the heels.
I started wild guessing at what might work and continued to boil it down until I had something workable.
This type of work is best done in longer sessions so that the many little things you learn are not forgotten over night.
I made at least 10 coverings and 6 changes to the pattern.
I discovered that the book binding leather shrinks nicely when whetted and that hand stitching was the only option.
I ended up modifying a pair of channel locks so that I could hold the leather in place and stitch precisely next too the steel rods.
I formed and edge finished the out-sole to exact fit
Another critical invention was filing grooves into the upper; this helps the leafs stay in place and limits the bumpy fit of the out-sole.
With a near finished arrangement of the leafs I needed to create the socks, Lisa came in last fall to demo inlay - overlay and so I used my new skill to make the leafy sock.
This is my method for continuous improvement; the rule is "one new machine, process, or technology per year" by that I mean EVERY year I have to find something new for the shop or my craft repertoire