


For several reasons I am really enamored with the Flashcut; for intricate work such as this type of precision. Two things come together to enhance the outcome beyond the traditional methods.
- Creating the patterns in CAD
- Cutting and marking the patterns with the Flash

The interesting thing is that as soon as I have a Master I can stop the pattern drafting by hand and go directly to CAD.

- Scan your Master to jpeg
- Open your scan in Photoshop or any program that will tell you the EXACT length and width of the scan image to the 0.001", record these dimensions (example 10.867" x 16.698")
- Use these dimensions to check that your jpeg imports exactly to size into your CAD or CAR program. (so far we are using only Illustrator and Rhino)
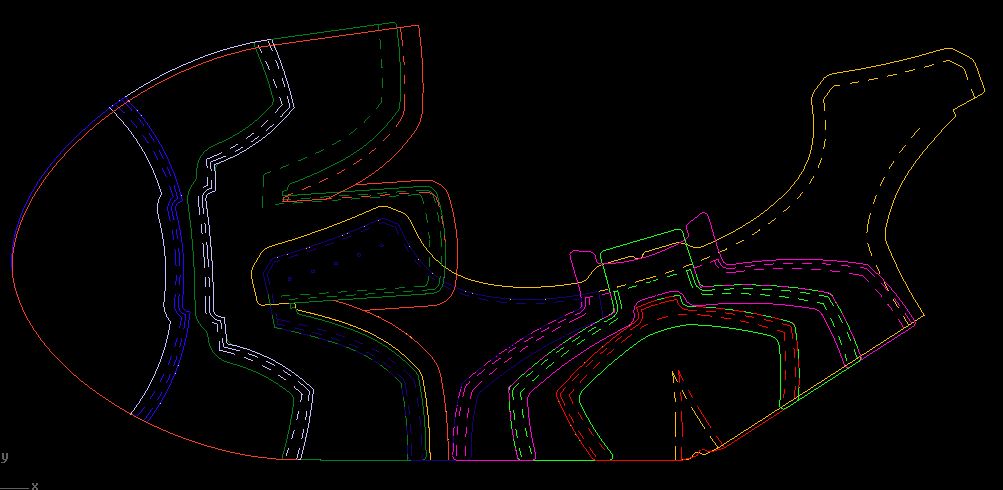
The methods for creating the various parts in CAD are the same as by hand, and take about as long.
I keep the Design lines and the primary construction lines (fold lines etc.) in one layer and create each part in a separate layer.
It is only when you compare the CAD lines and curves to your drafting versions that the real beauty of cad comes to light.
- The creation of Parallel Offsets is something that the computer does with ease and by hand can be clumsy.
- Changes are new lines and the old lines can be saved
- Seeing "thru" the parts and turning layers on and off is a great way to weed thru the various parts.


I am on V3c as far as versions go.


Front half and rear half complete


Creating in CAD and marking all of the stitch lines with the Flashcut is a confidence booster and allows for creativity that I would usually avoid like tapered stitch lines.

Obviously the precision of clicking improves the assembly and reduces accumulated errors.


I make the lining 1/8" snaller per side and this system work fine.


11.20.18


No comments:
Post a Comment